You can flash the Fugu MPPT Firmware here. Connect the device with an USB Cable to your computer. Then click on „Connect“ below and select the serial port. This works in the browsers Chrome, Opera and Edge.
Version 1 (original)
Version 2 (platformio)
Instructions
Connect the Fugu MPPT to your computer using a Mini-USB Cable. The MCU will be powered by USB.
1. Go to https://open.pe/fugu-web-flasher/ and click on the „Connect“ button
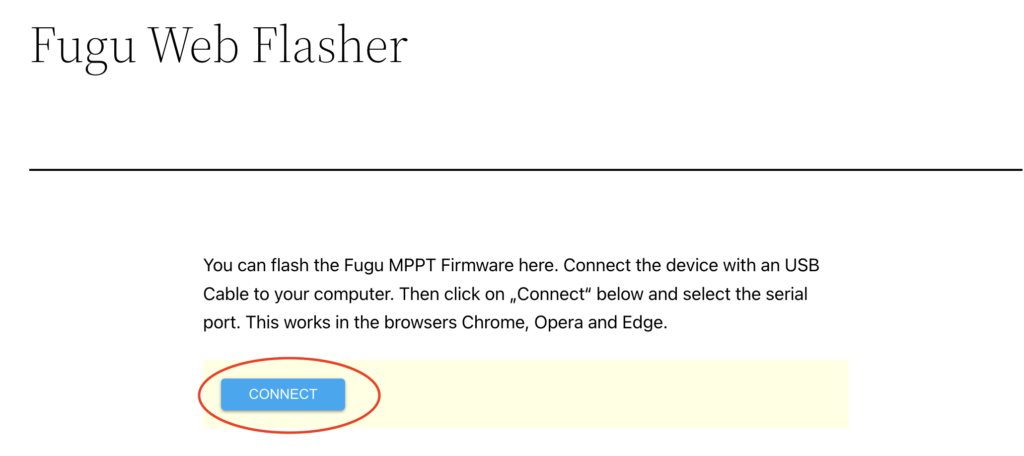
2. Your browser might prompt you for permission to access serial ports.
3. Choose the ESP32 serial adapter port. It usually names „USB to UART“, „usbserial“ or similar. If you are unsure, just try any port until you find a working one. If it doesn’t work, click Cancel and you’ll get instructions on how to troubleshoot and installing drivers for the CH340C/CH340G chip.
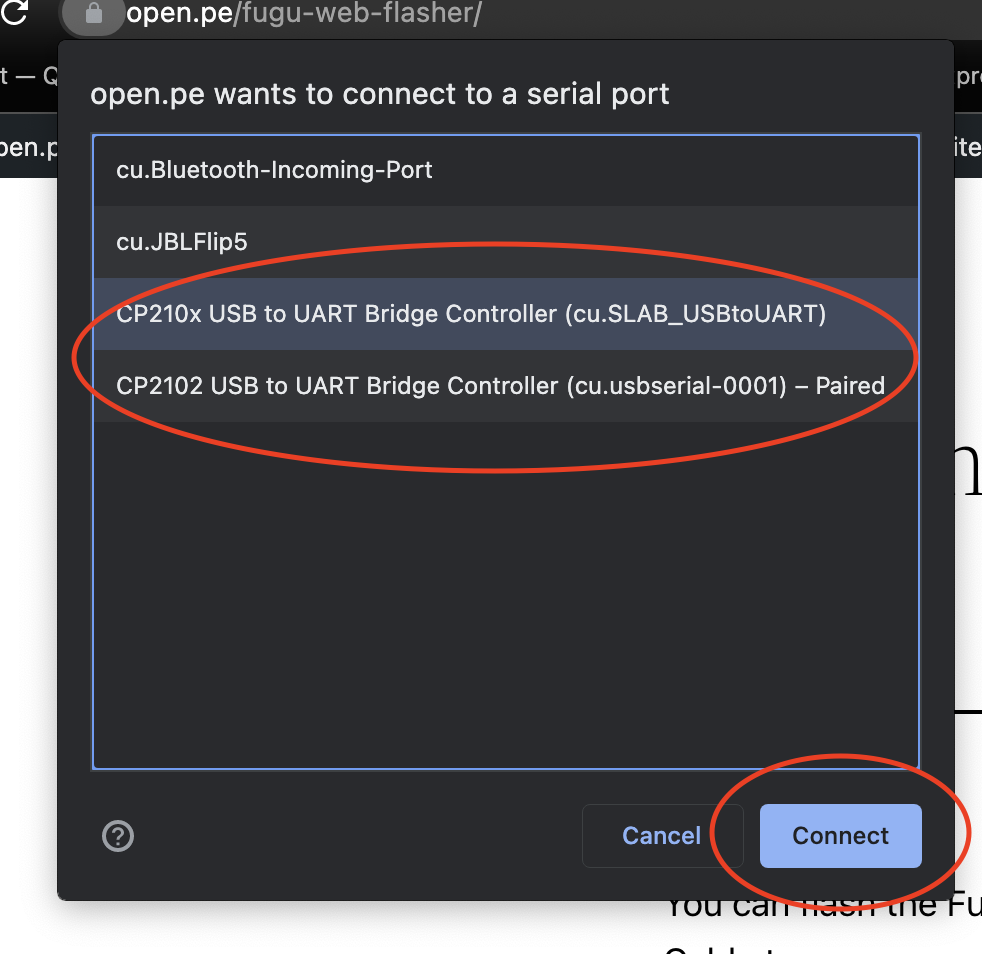
.4. The program now tries to detect the ESP32 chip. If it succeeds you will see this menu:

Click on „INSTALL FUGU MPPT“
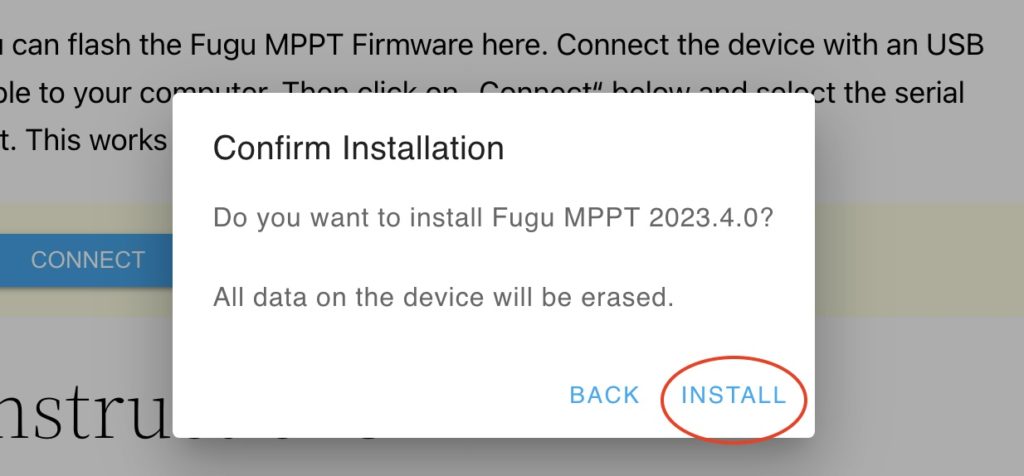
.5. Confirm Installation. Notice that it will erase the ESP32’s flash. It will flash the bootloader, partitions and the firmware.
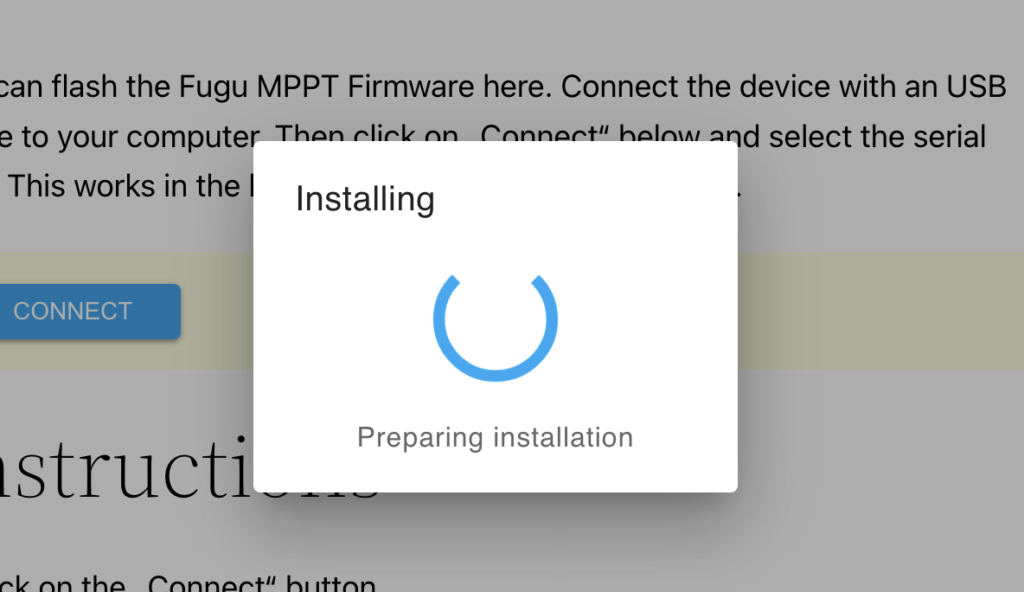
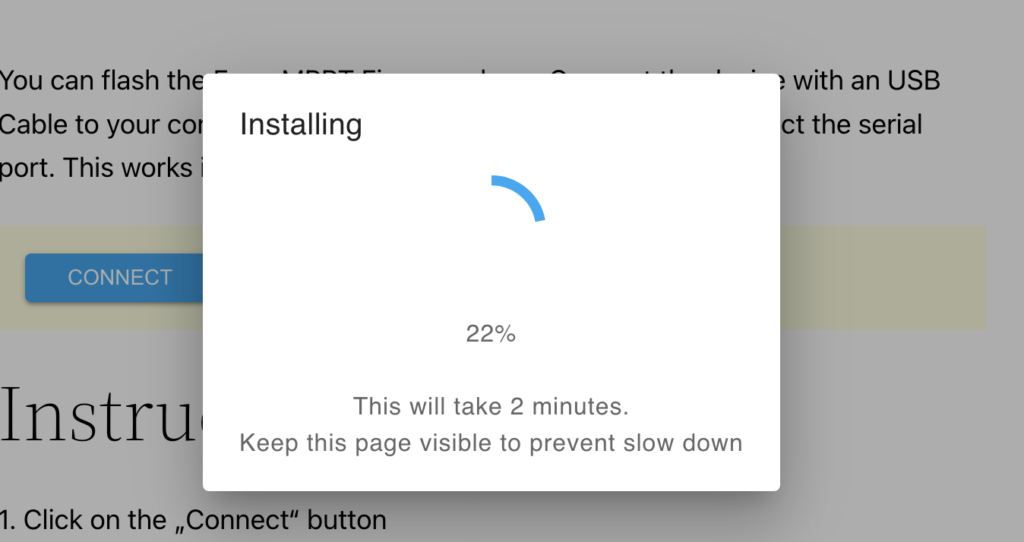
.6.: Installation might take 1 or 2 minutes. When it completes you’ll see this screen:
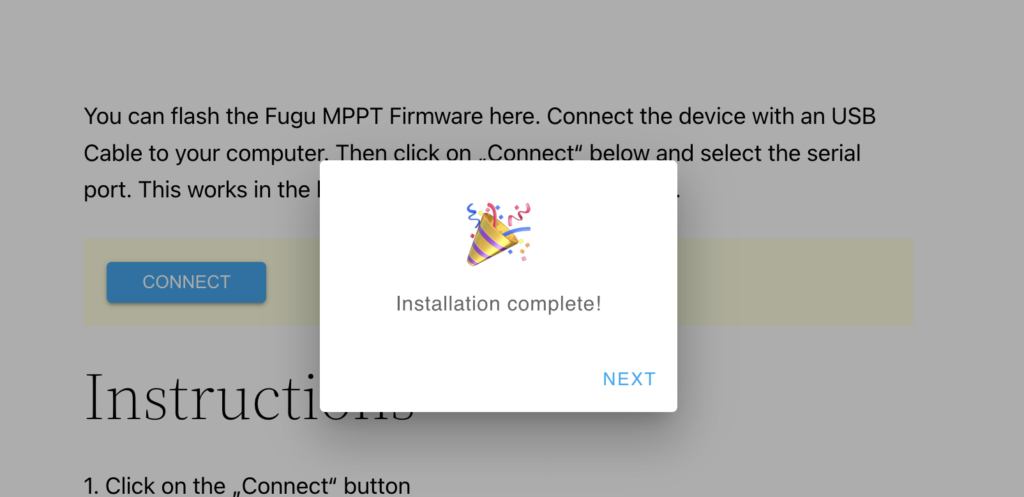
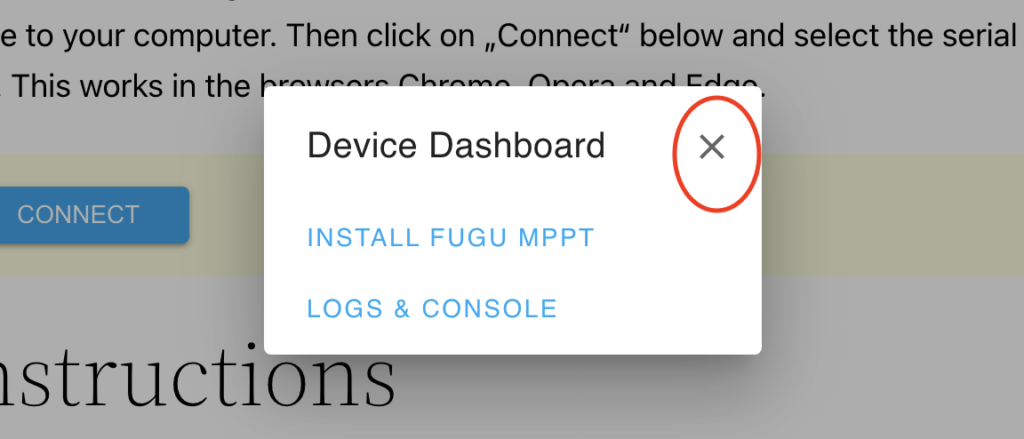
.7. You can now exit the web flasher menu:
.8. Unplug the USB Cable and connect a 12-48 V power supply to the solar input.
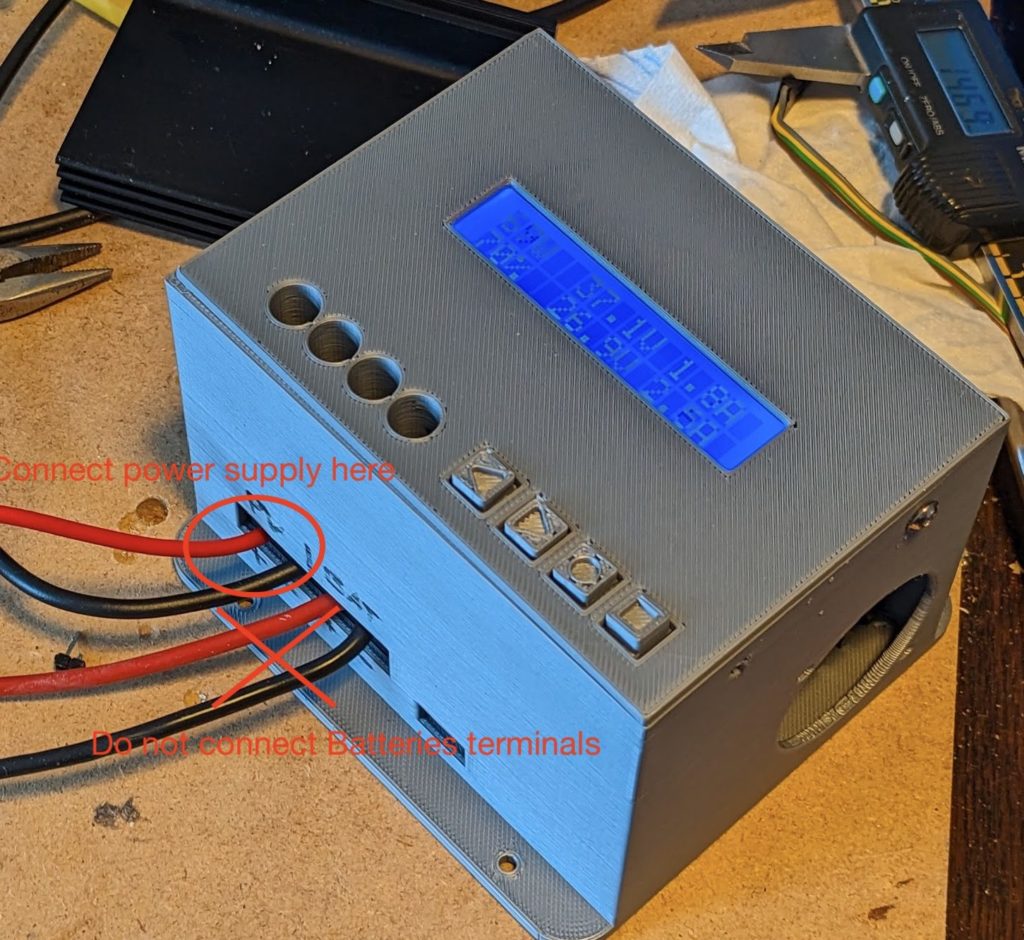
If the display stays blank. adjust the contrast with the potentiometer on the back side:
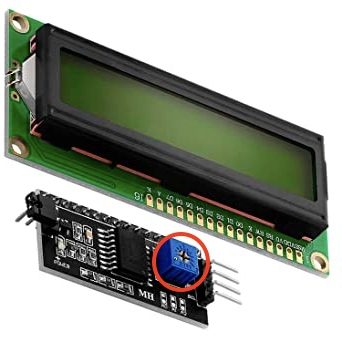
If the display stays blank still, change it power supply from 3.3V to 5V and adjust the potentiometer again. For debugging you can use an I2C scanner. You’ll easily find the code online (here is an example). The display should respond at address 0x27 .
.9. You can now adjust battery settings using the 4 Buttons and the LCD
You’ll find more instructions here: https://github.com/fl4p/fugu-mppt-doc
Misc
You can flash your own bootloader, partitions and firmware images at esp.huhn.me